
Hair. It’s something we all care about, something we spend countless hours (and dollars on), and for me, something that’s been transformative over the past few years.

In a few weeks, I’ll be sharing about my own hair transformation (thanks to Nadine Matar at the PR at Partners on K Street!) but in the meantime, I’d like to chat about the thing we all struggle with when switching our hair do’s - HOW TO STYLE IT.
Cutting off 10 inches has honestly been one of the most amazing things I’ve done for myself within the past few years. But as I’ve mentioned before, there are far less options for that short hair life. Before, it was “hmmm do I want to wrap my hair in a sock to create a ballerina bun or perhaps a milk braid today?” Today, it’s more like, “hmm should I wear my hair wavy or straight?”
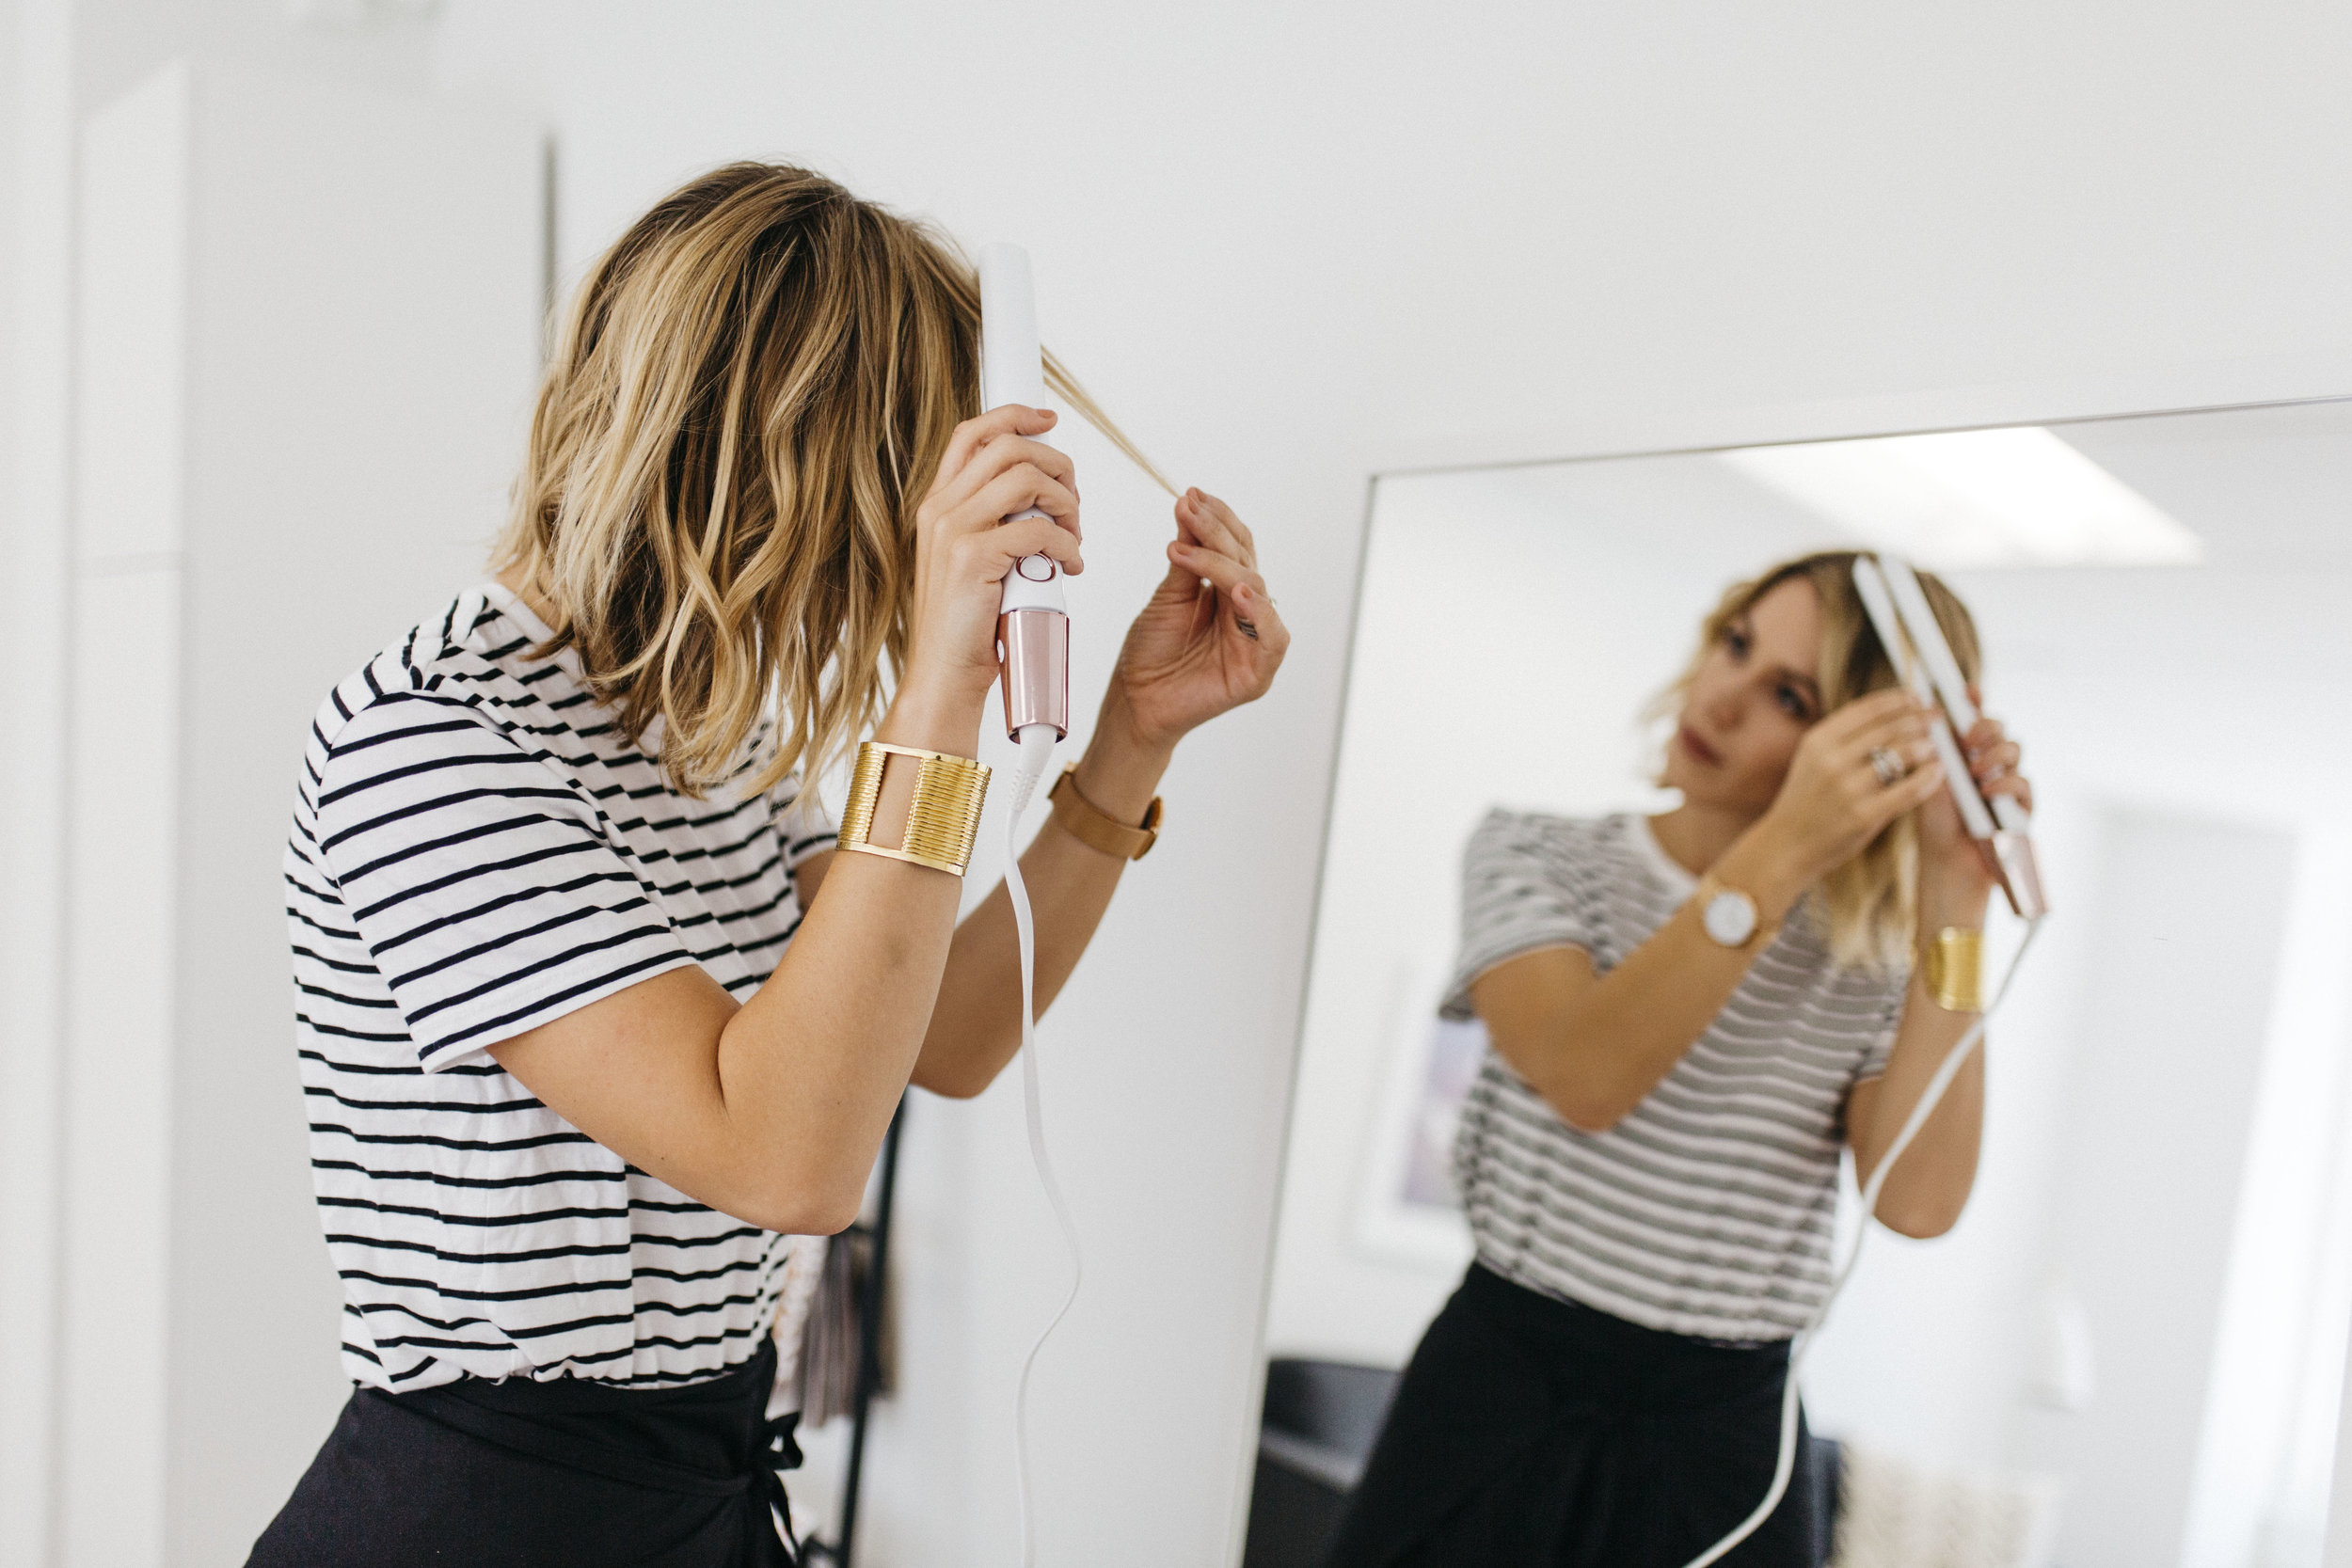
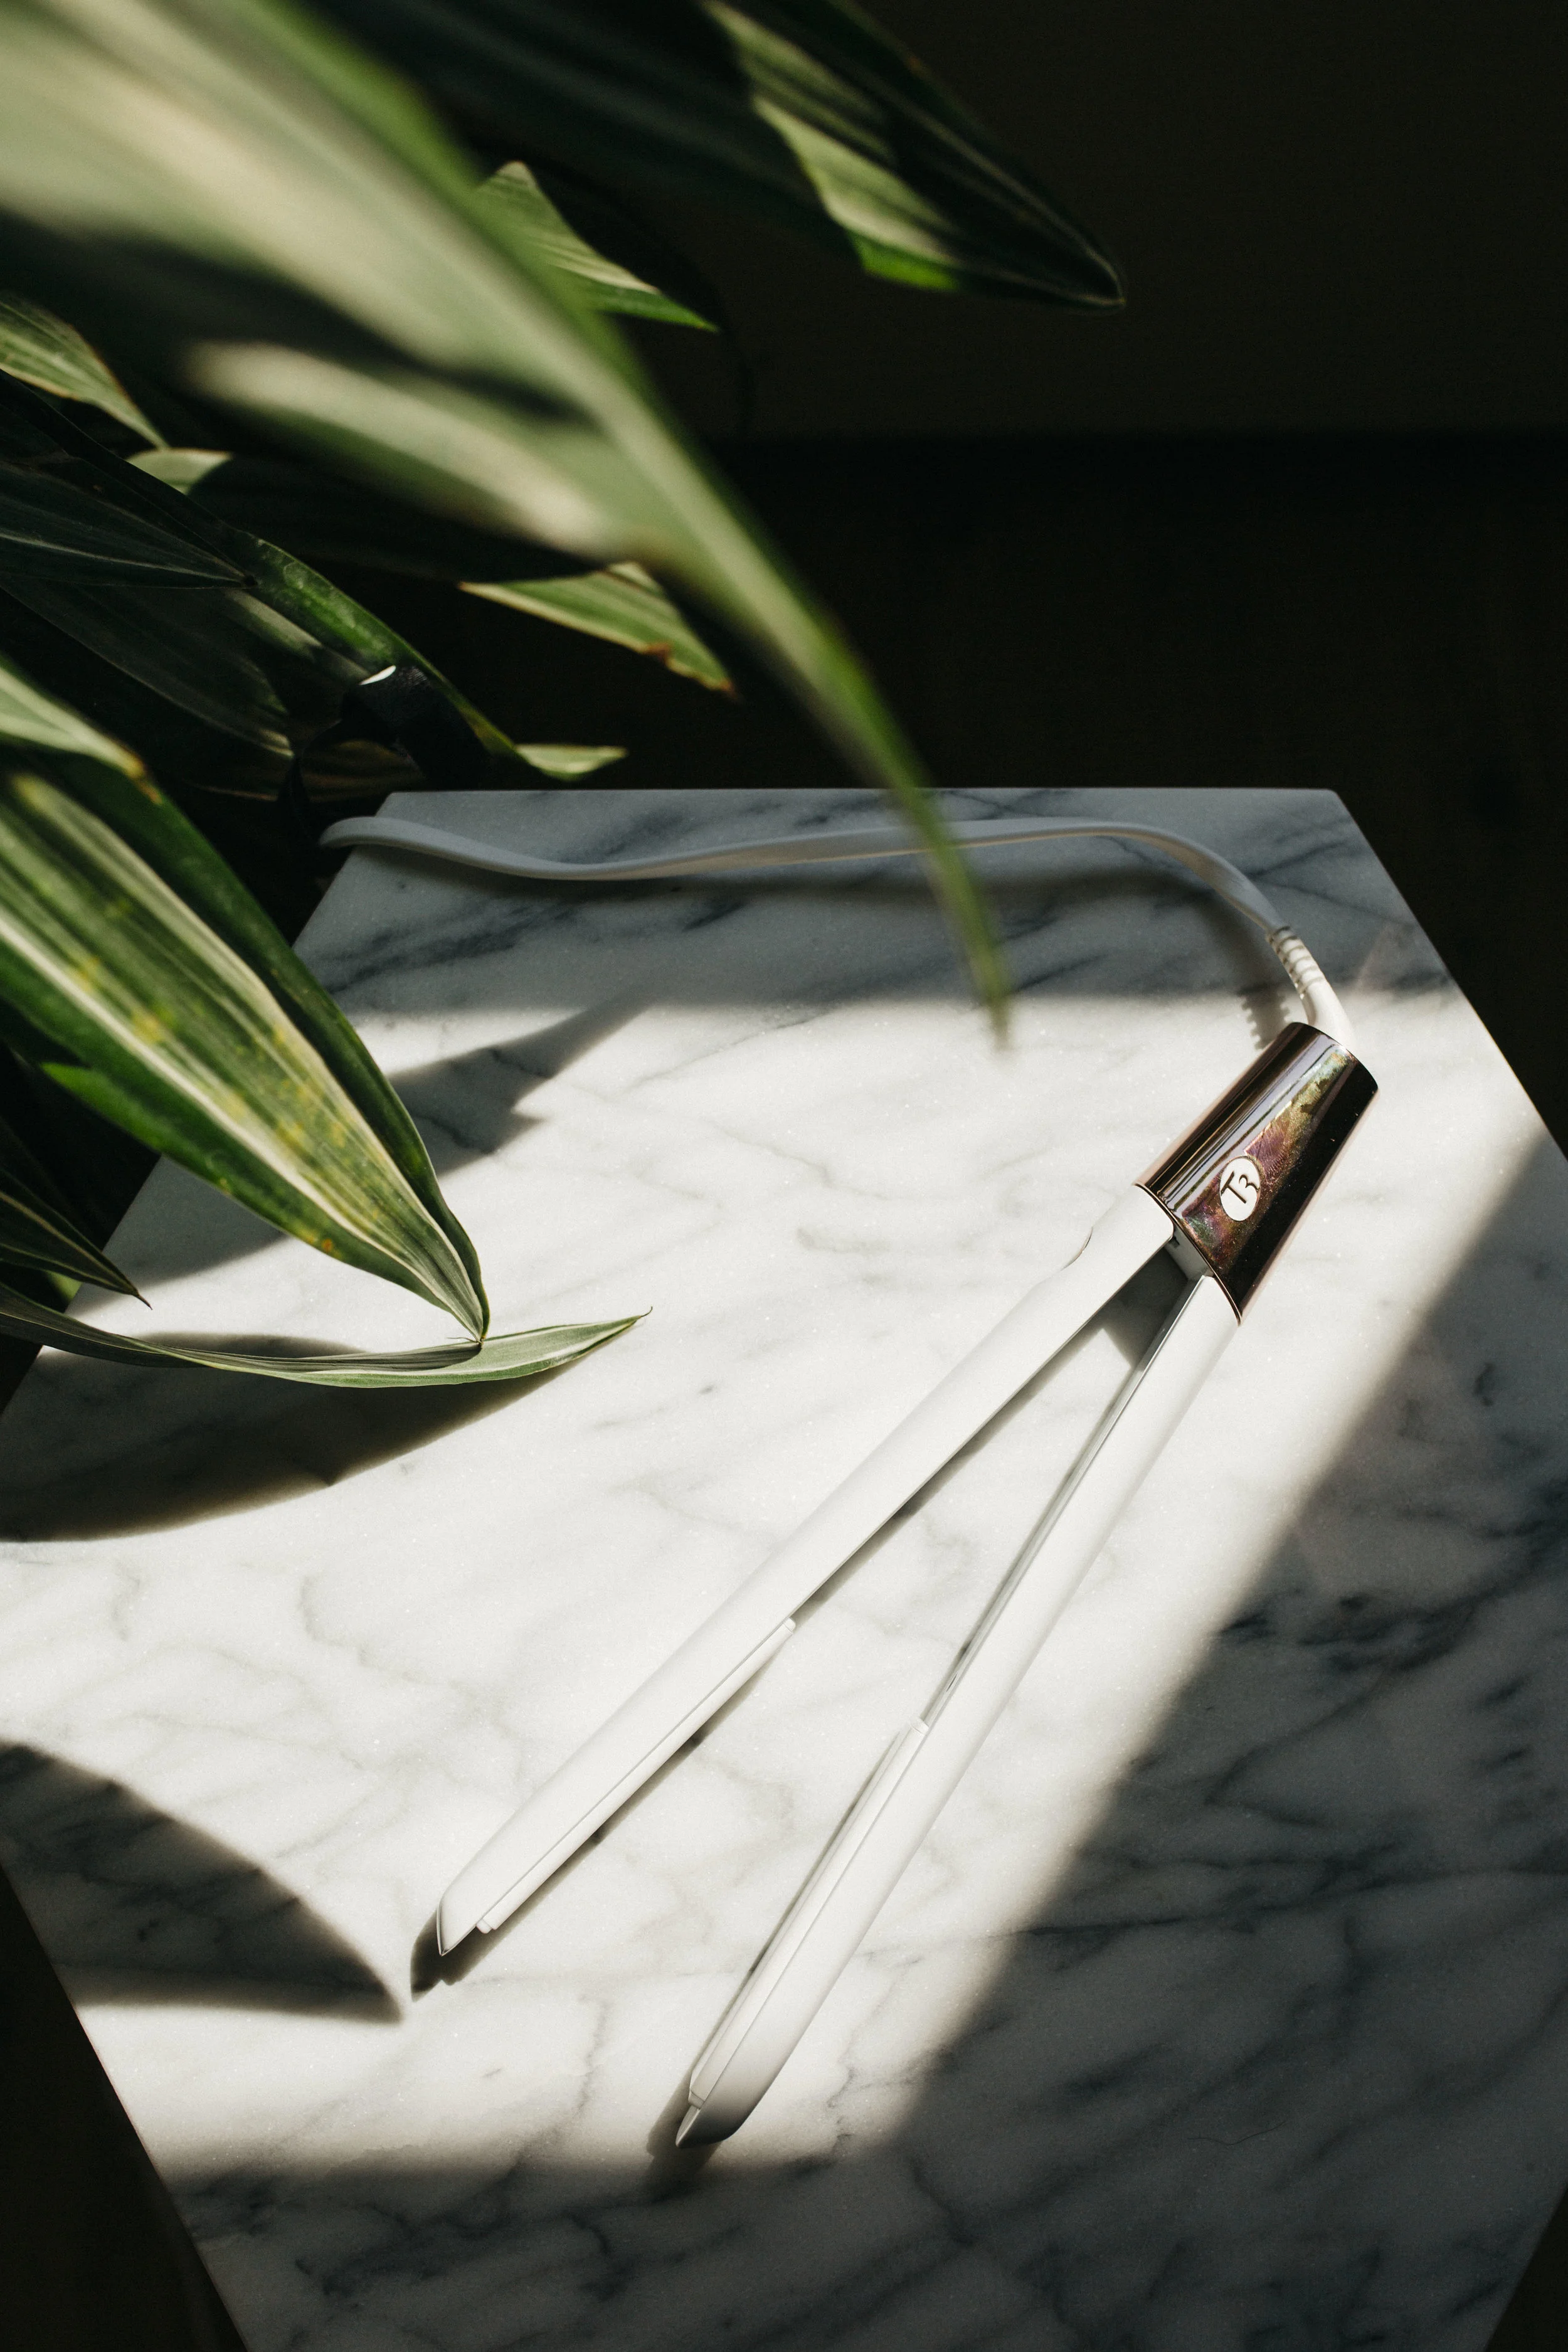
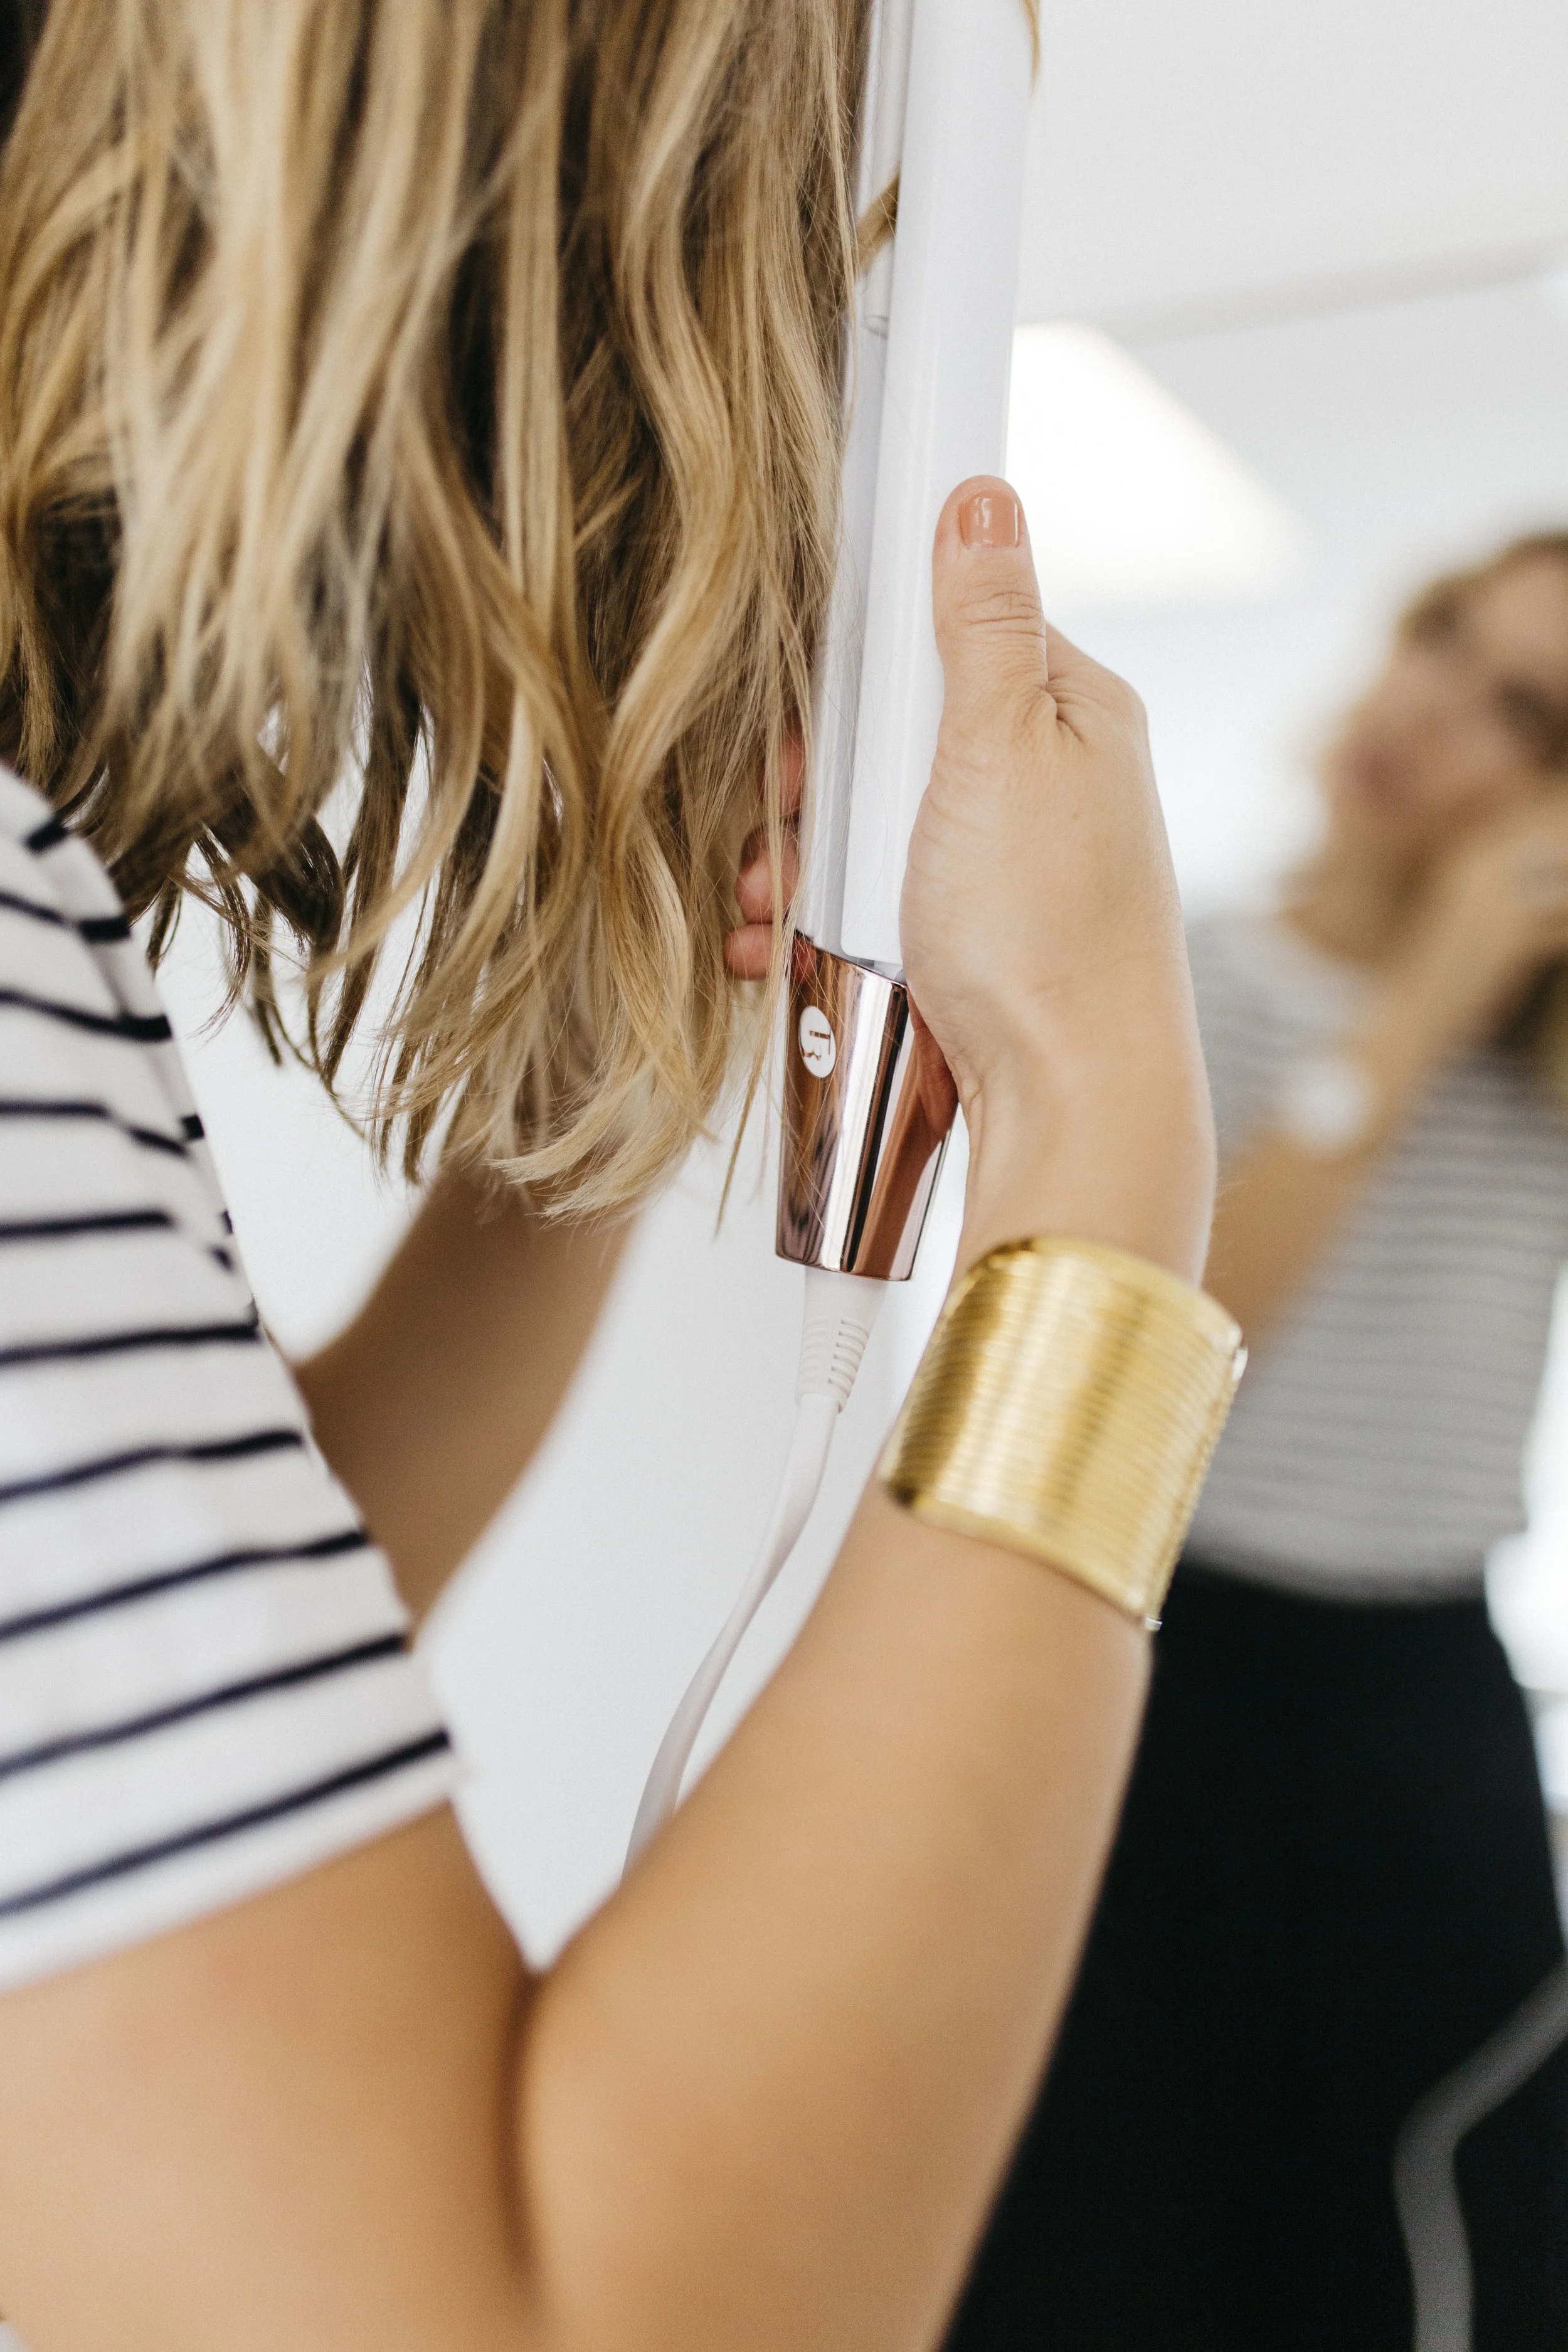
What I didn’t realize is that there are SO MANY DIFFERENT KINDS of waves. Curling iron waves, wand waves, and flat-iron waves. WHOA - HOLD UP. Flat iron waves? Yes, friends. Meet my favorite tool for traveling, for helping me get the most versatile styles, and definitely voted “most likely to be the best looking tool in my hair tools arsonele,” the T3 Singlepass Luxe.
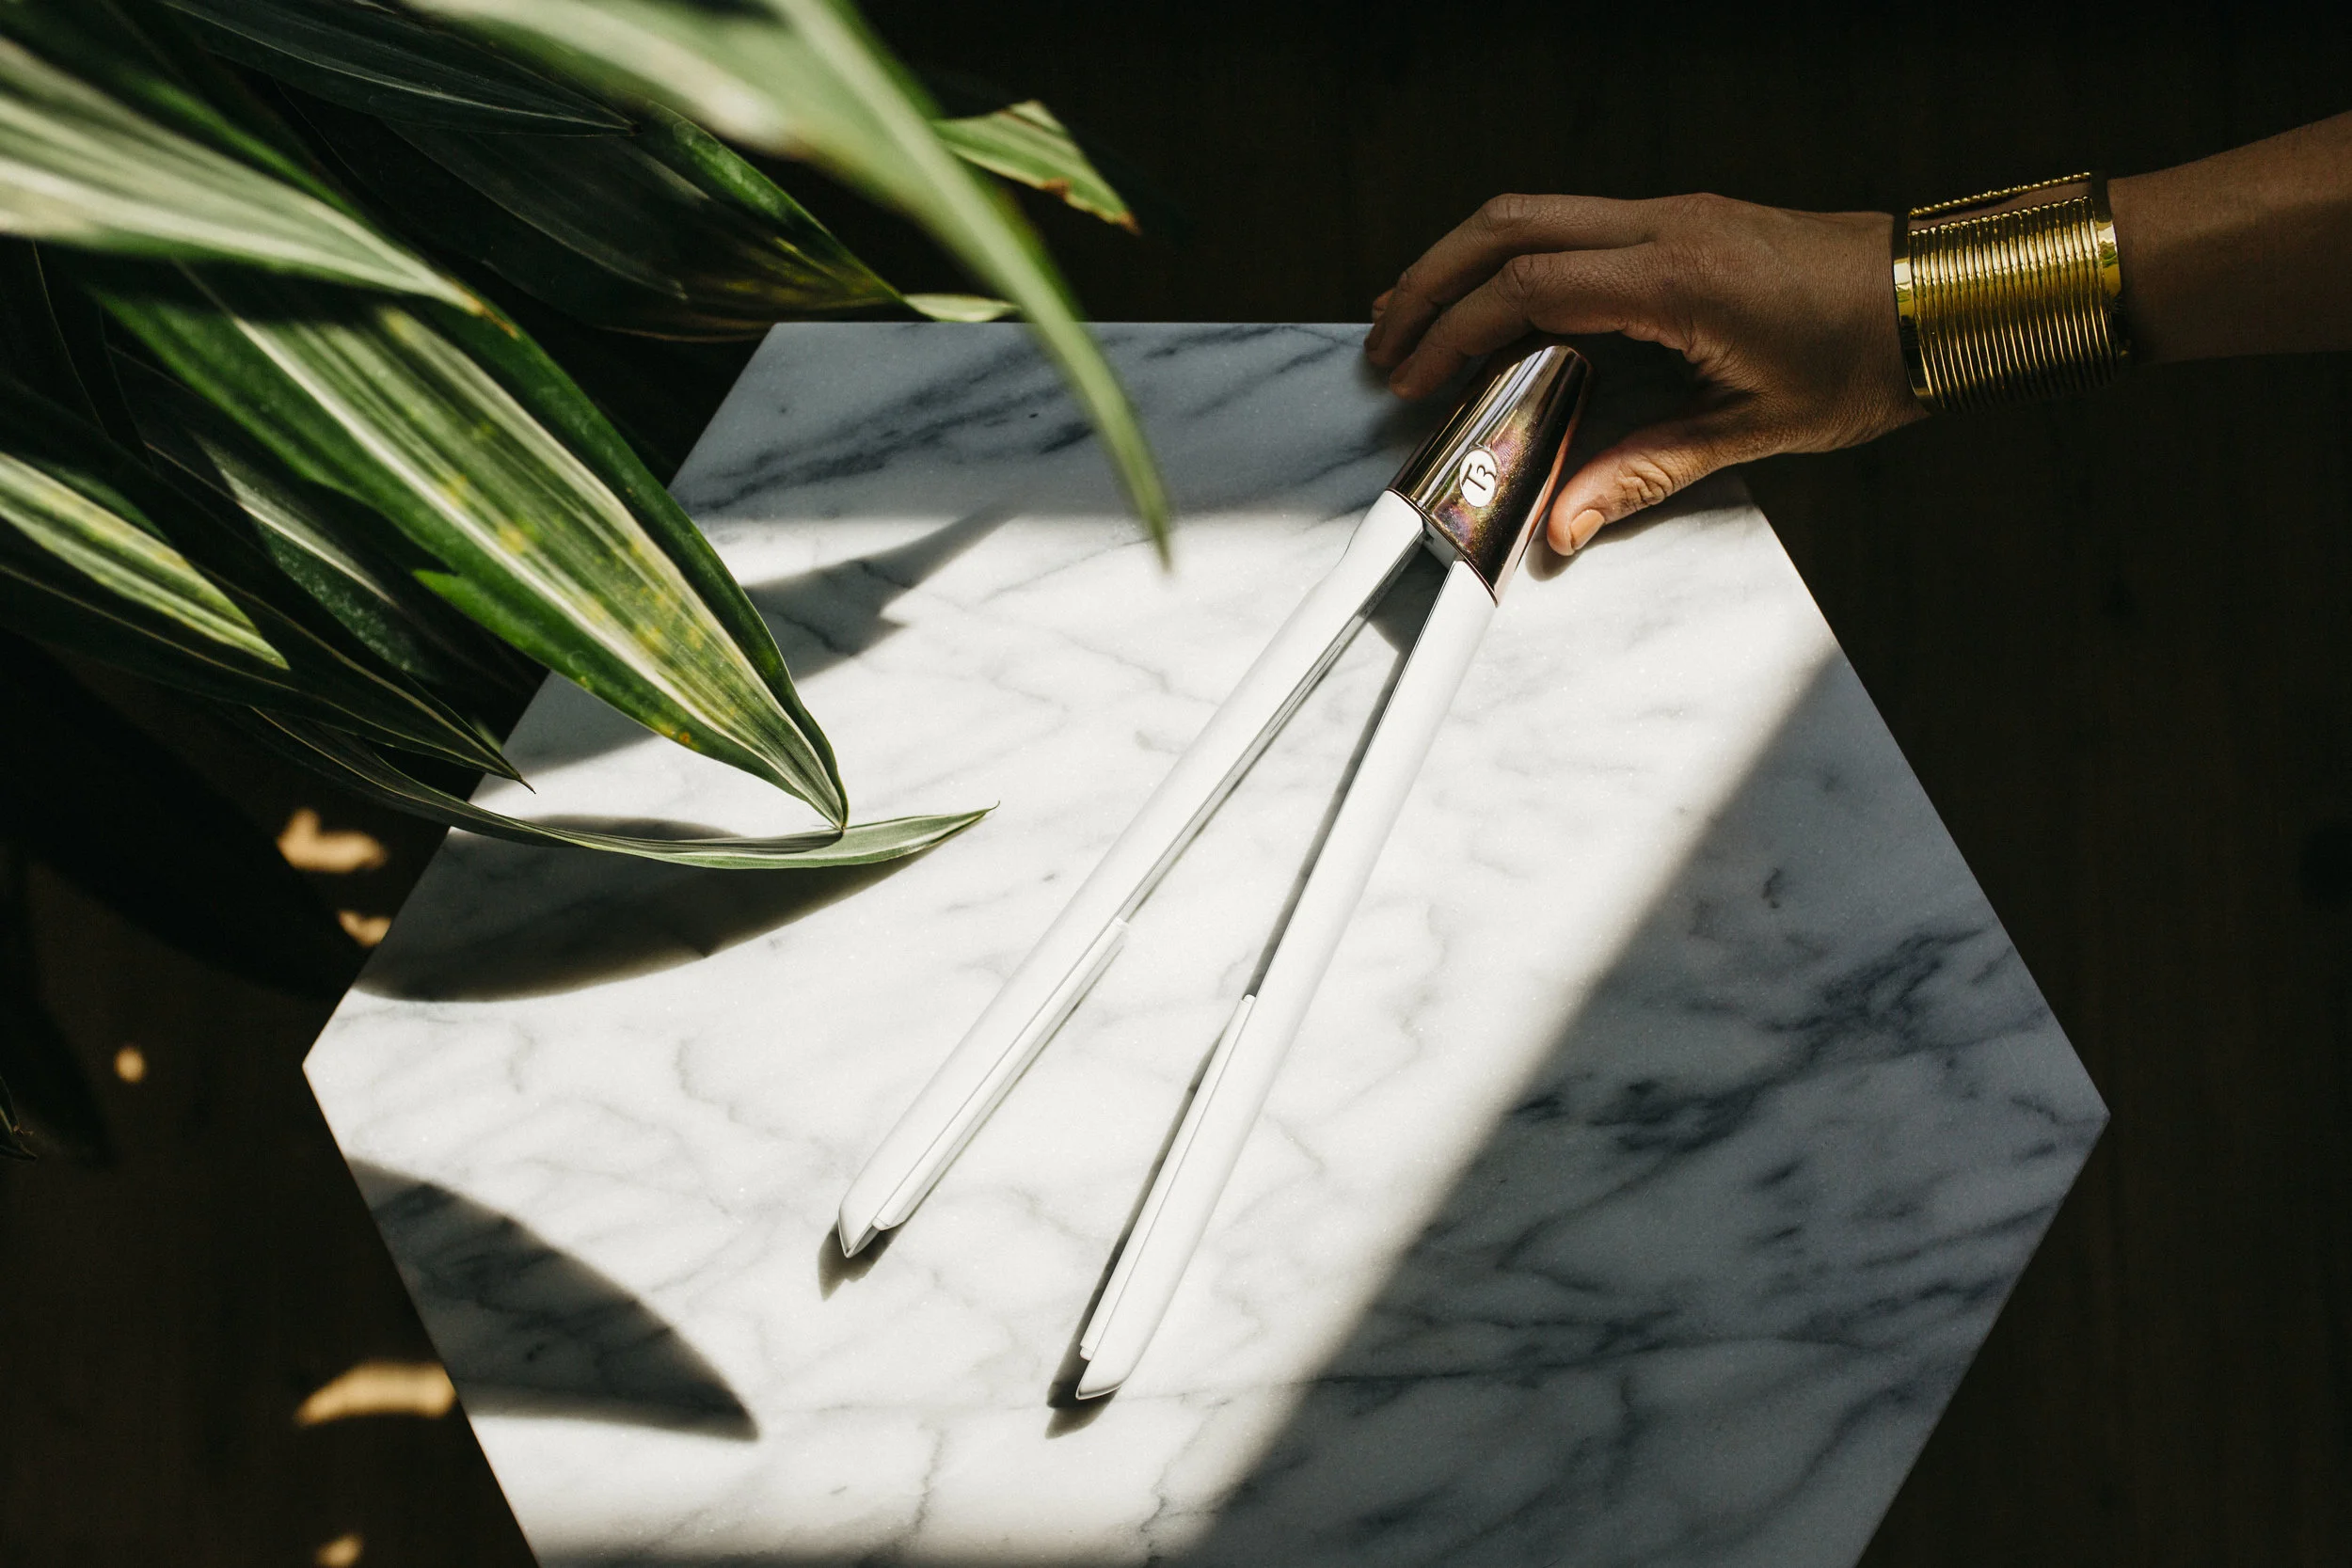
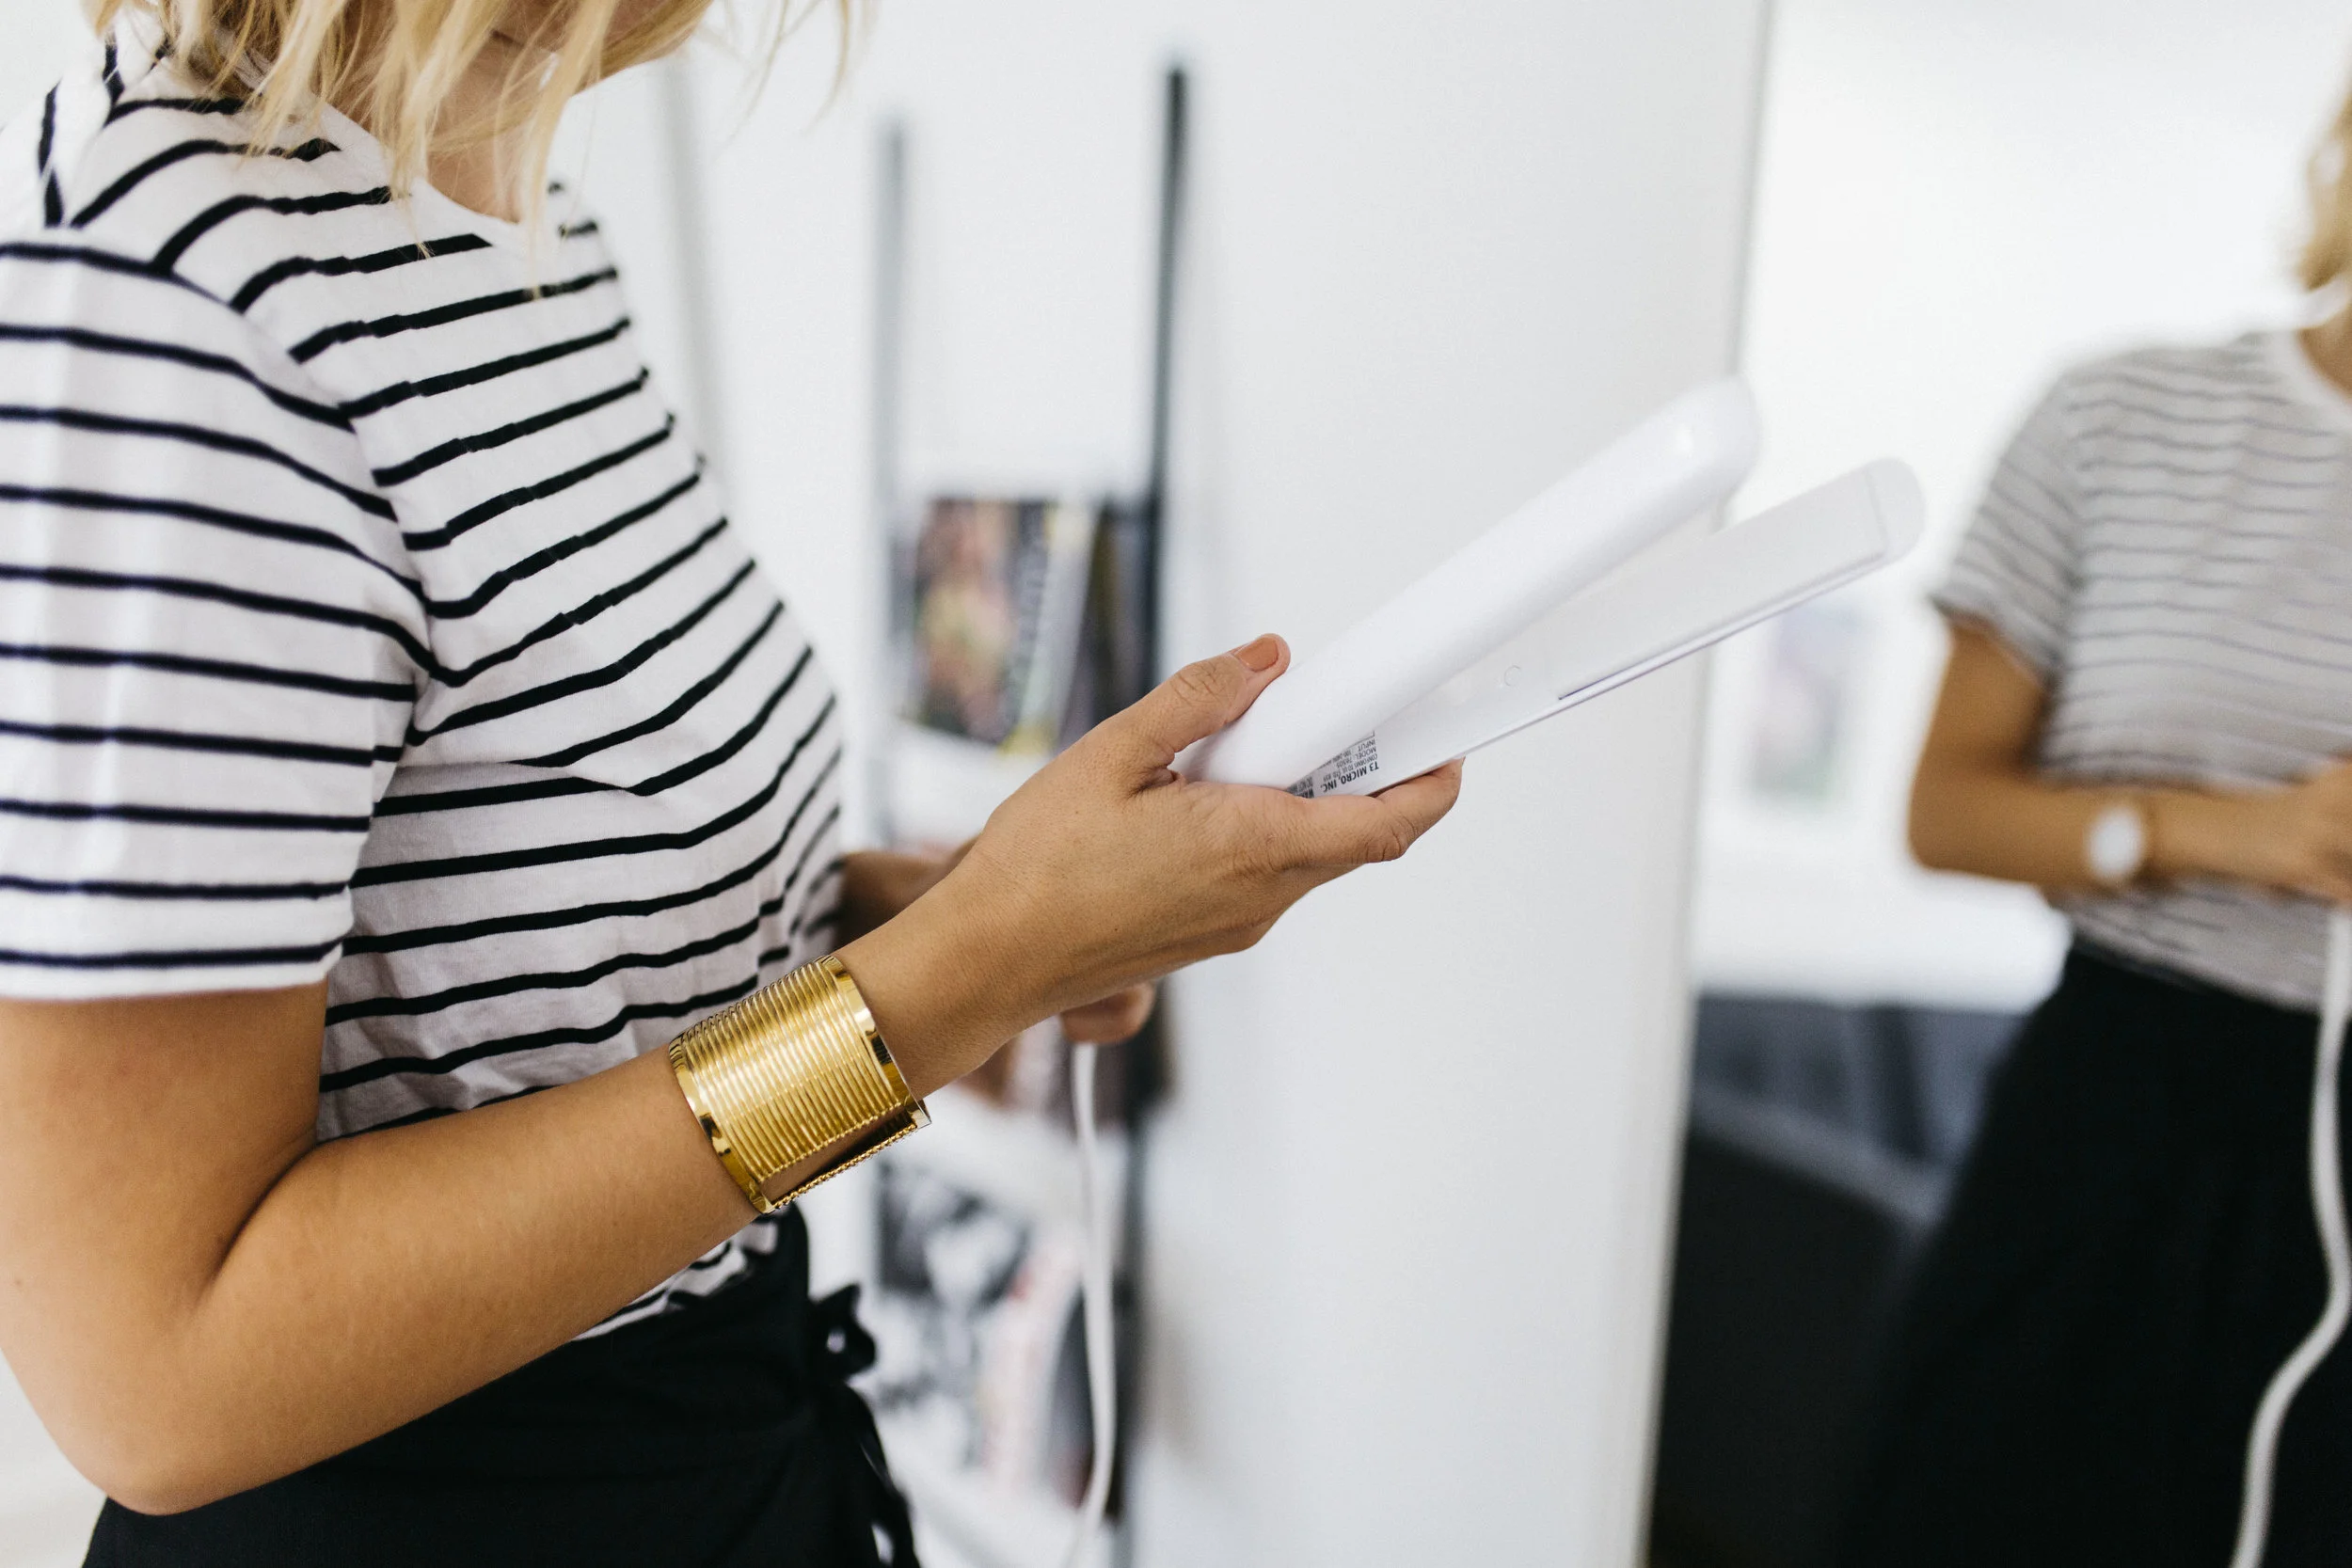
This is not your high school straightener, babes. Gone are the days of burnt hair smells and tugging at your hair. This 1-inch straightener has flexible, ceramic plates so it glides smoothly, a microchip to maintain even temperature, and technology to seal your cuticles for a smooth, shiny finish. It even comes with sectioning clips, which are a lifesaver when it comes to saving yourself the anxiety and stress of trying to section out your locks with hair ties that eventually crinkle your hair. Plus, it has rose gold detailing, making it extra Instagram worthy.
While I love a great straightened look, my signature look is definitely waves. How does one get those natural, beachy waves? Watch the video from my hairstylist Nadine below or follow these easy instructions:
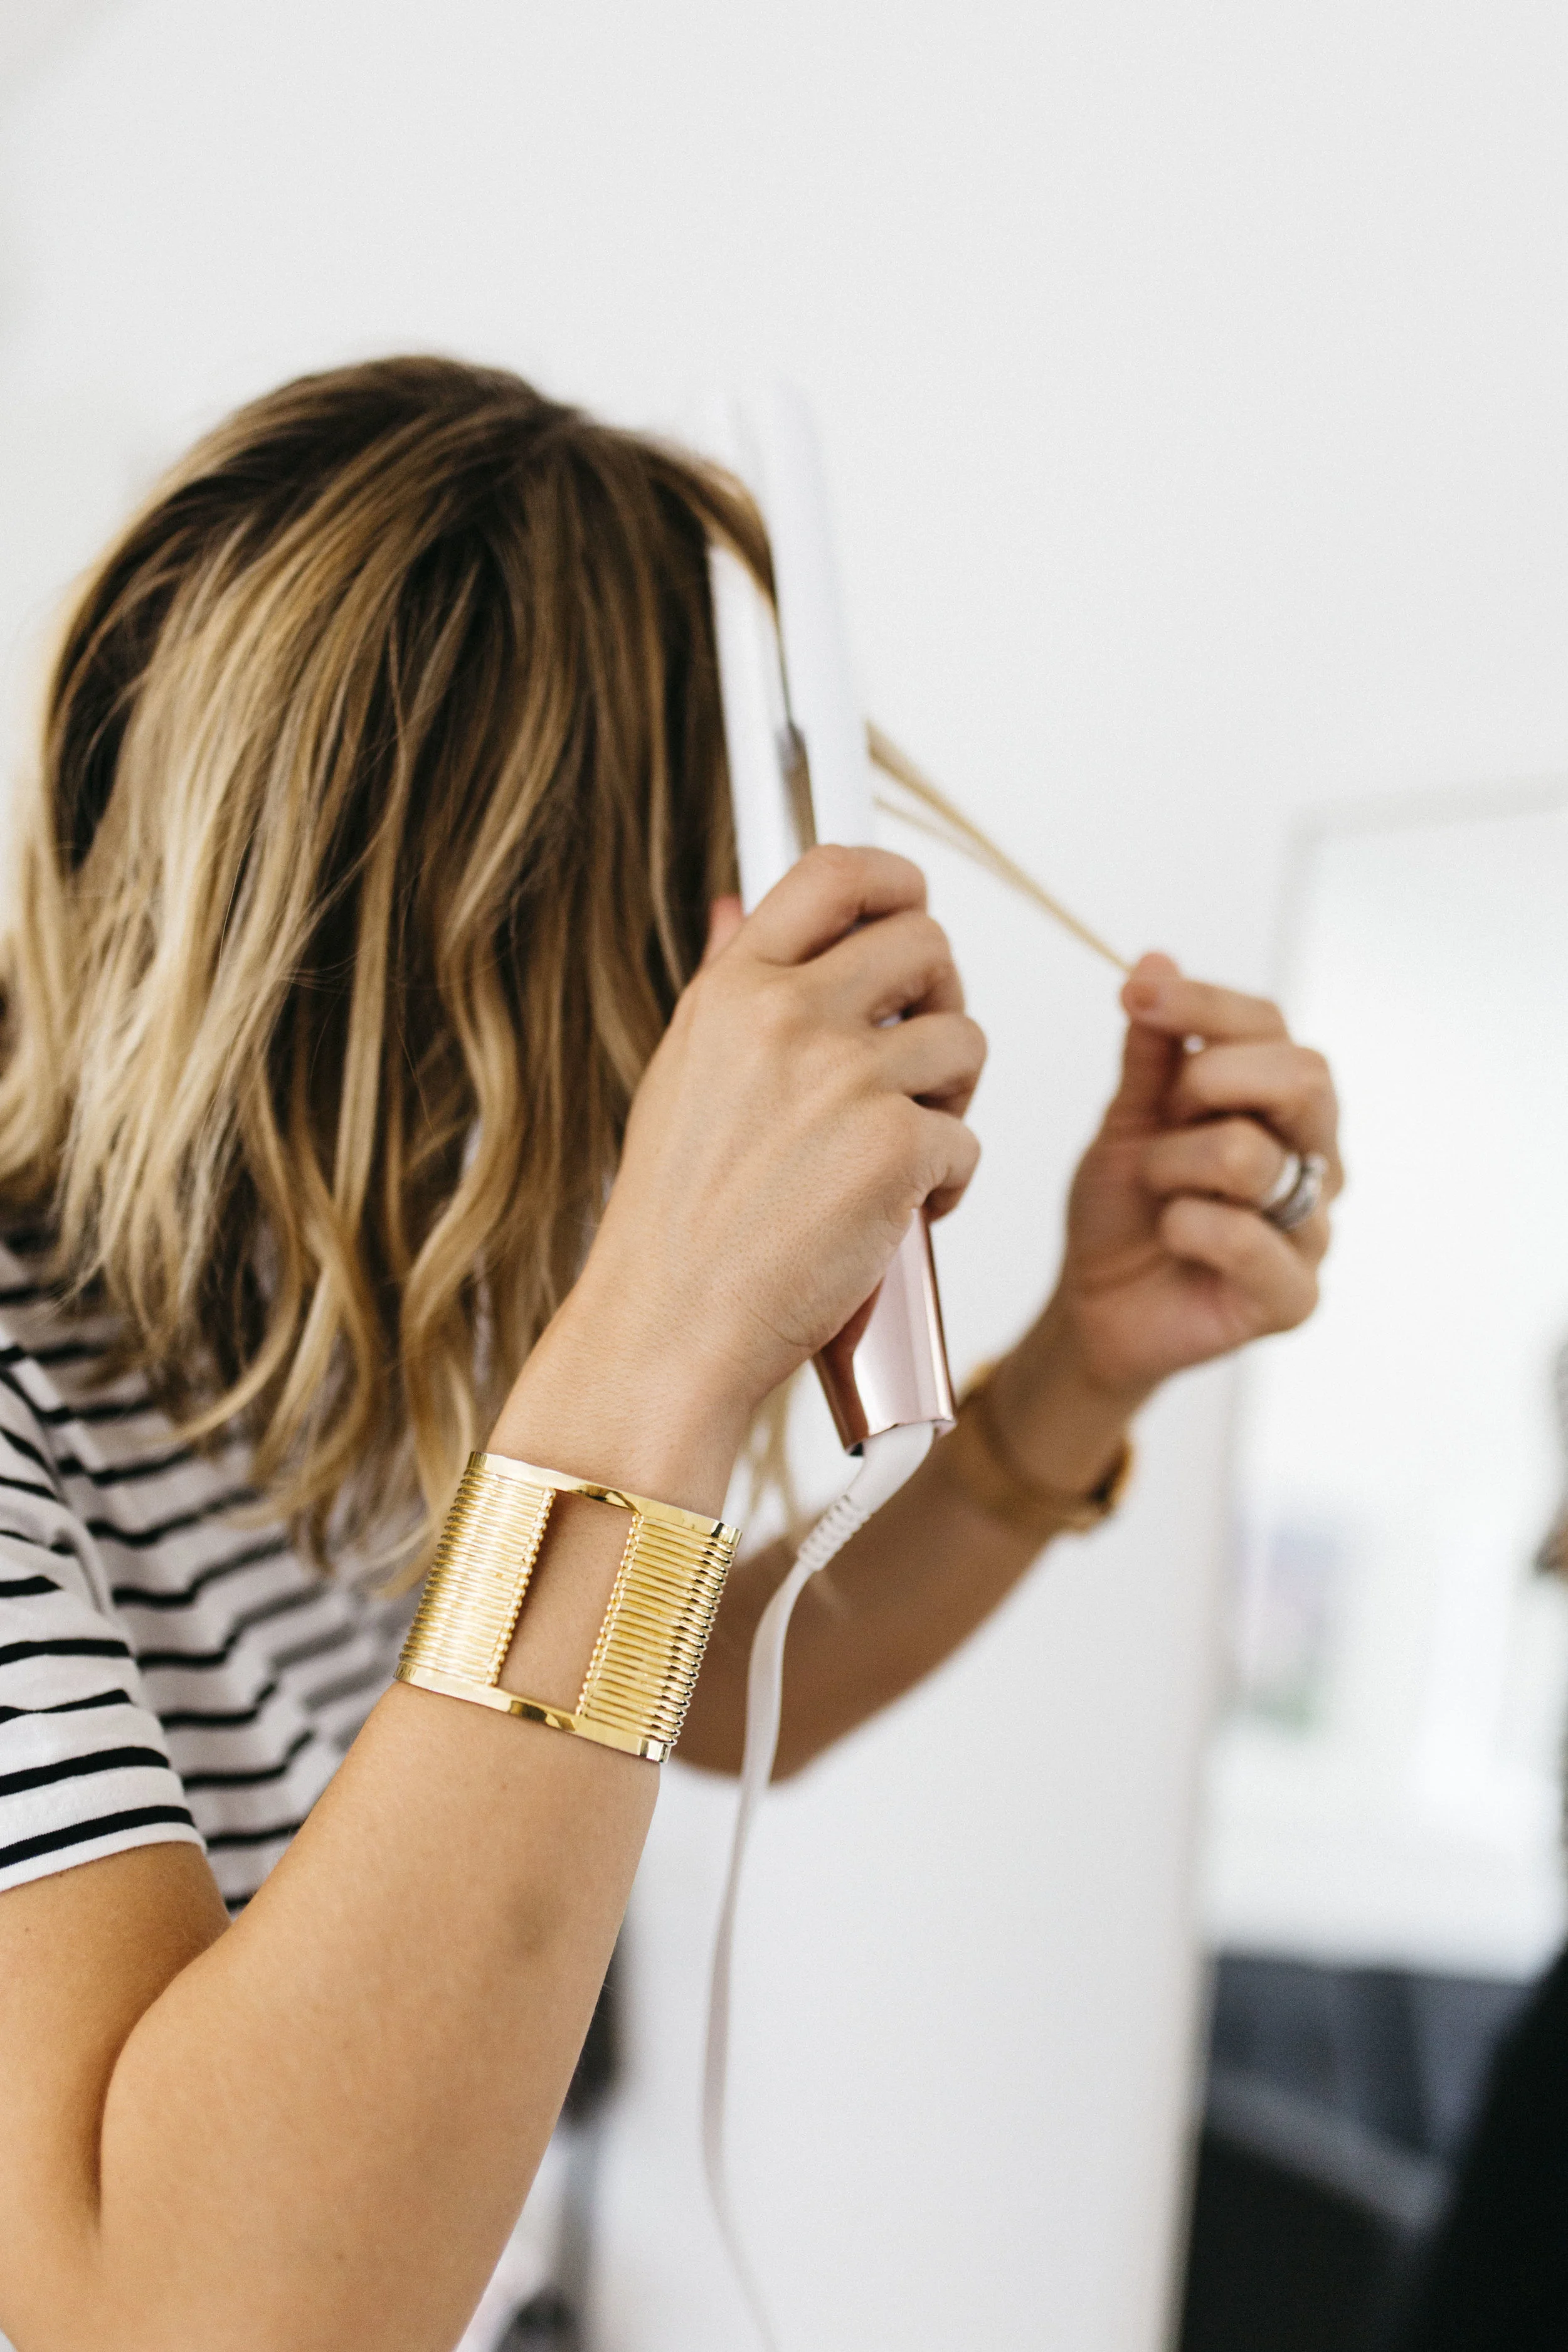
1. After letting the Singlepass Luxe heat up for a moment, take a one-inch section of your hair and bring the straightener up to your roots at a 45 degree angle.
2. Twist the straightener around the hair closest to your scalp a full 360 degrees, then slowly twist at a downward angle.
3. After you twist to the bottom, scrunch the curl lightly to set the wave.
4. Switch between inward and outward angled pieces until you’ve covered the outer layer of your hair.
5. Next, run your fingers through your hair to separate the waves a bit, then spritz lightly with your favorite texturing spray (I love the Oribe spray and this trio from Bumble & Bumble!)
6. Ta-da! You’re done. Now take your best selfie and show the world what a pro you are at using a straightener to curl your hair. *MAGIC*